The Stand-In Shoot: Blocking Complex Scenes With Household Objects Before the Camera Rolls
A stand-in shoot is a practical form of pre-visualization for solo creators: rehearse the action with household objects, verify what your real support gear can actually do, and plan one safety angle before location time starts. It’s the fastest way to catch glare, rig limits, awkward transitions, and coverage gaps while fixes are still cheap.
By VideoCue · Created with AI assistance and automated editorial checks.
Why a stand-in shoot solves a different problem than storyboards alone
A shot list tells you what you want to capture. A storyboard helps you picture the sequence. Basic blocking helps you place people and action in space.
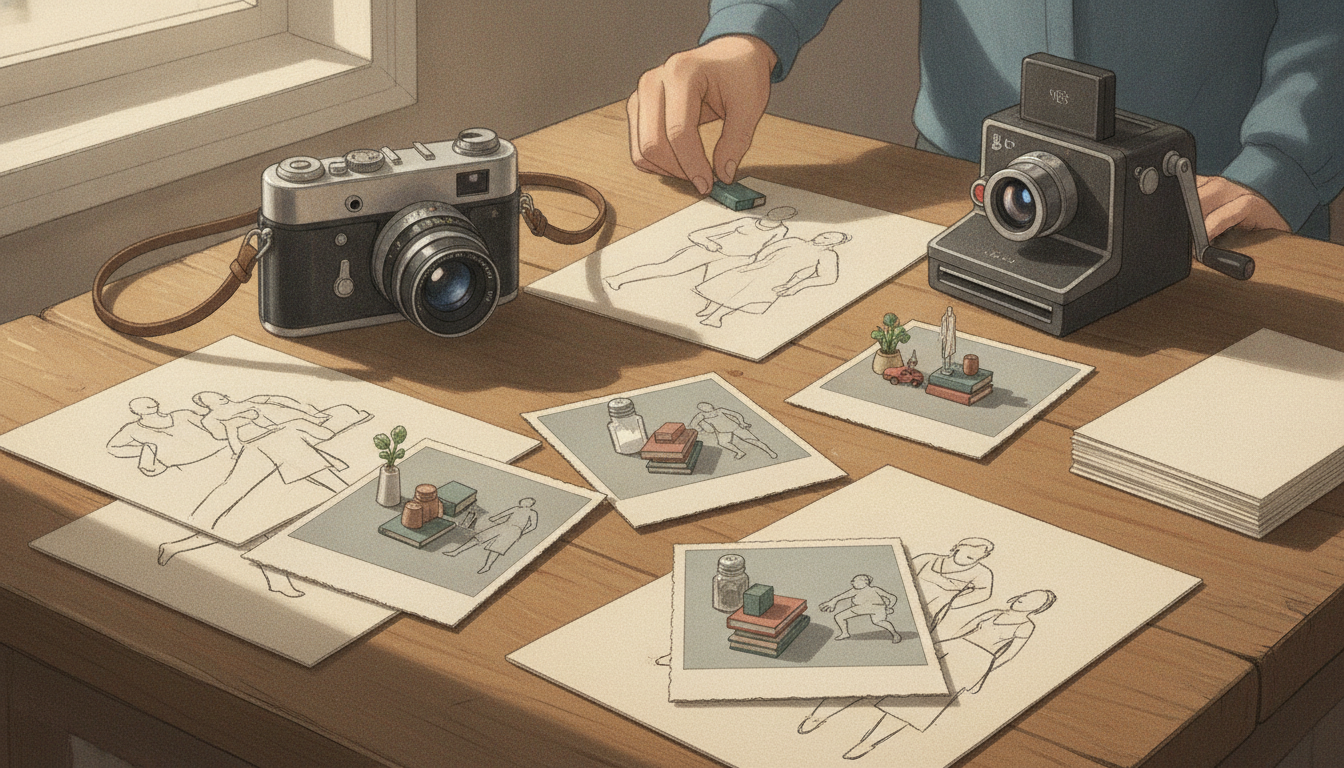
A stand-in shoot adds one more layer that matters a lot for small crews: it combines physical blocking, gear verification, and contingency coverage planning in one rehearsal.
That difference matters when you do not have the budget, crew, or location time to discover problems on set.
The usual failure pattern is familiar:
- the overhead angle needs more height than your support can reach in its intended configuration
- the side shot looks fine on paper but throws glare into the lens
- the host line and the hands-on action do not connect cleanly in the edit
- the “obvious” coverage turns out not to cover the continuity break
This sits inside the broader practice of previsualization: planning shots before production so the expensive questions get answered early. A creator-focused guide from Storyflow describes previsualization as visualizing a shot or sequence before filming so a production can plan, test, and de-risk it, from simple storyboards up through more technical approaches like 3D previs and techvis (Storyflow, “What Is Previsualization?”). For solo creators, a stand-in shoot is the cheap end of that same idea: not polished previs, not just sketches, and not ordinary blocking alone.
It is a rehearsal where you pressure-test three things at once:
- Can the action read clearly in space?
- Can your actual gear get the angle cleanly in the way the manufacturer intended?
- If the main plan breaks, what shot saves the edit?
If you already plan with a shot list or boards, keep doing that. The stand-in shoot comes after the planning sheet, when you start proving the plan.
What to verify during the rehearsal
A stand-in shoot works best when it answers a short list of hard questions. You are not trying to make a mini masterpiece at home. You are trying to expose problems early.
Spatial readability
First ask whether the viewer can actually understand the action from the planned angle.
Household substitutes are enough for this if they are roughly the right size, height, and surface character of the real objects. In a cooking demo, your hand might block the ingredient. In an unboxing, the lid may hide the reveal. In a desk tutorial, your mic arm may drift into frame every time you reach forward.
This is not a style pass. It is a readability pass.
Reflection and glare
The most practical lighting problems in creator shoots are often reflections, not dramatic lighting theory.
For reflective surfaces, the key idea is simple: the apparent reflection direction depends on the relationship between the incoming light and the viewing angle. The law of reflection says the angle of incidence equals the angle of reflection (Encyclopaedia Britannica, “reflection of light”). That is why a glossy counter, screen, glass bowl, or varnished table can look fine from one camera position and suddenly flare from another.
In rehearsal, that principle gives you a useful test routine:
- rotate the reflective object or work surface slightly
- shift the camera a little left or right
- change the light-side orientation if the setup allows it
- step into operating position and check whether your body changes the reflection path
Tie the rehearsal directly to the optics: if a small camera move causes the glare to disappear, you have learned something real about the reflection angle, not just had a random lucky preview.
Brightness changes and falloff
Brightness can also shift more than expected when one setup puts the subject much closer to a light source than another.
A teaching page from Khan Academy explains the inverse-square relationship: when distance from a point source increases, intensity falls with the square of the distance (Khan Academy, “Inverse square law”). That page is not a filmmaking manual, so keep the takeaway narrow: if your lamp or practical light is much closer in one setup than another, exposure and contrast relationships can change quickly.
For solo creators, the practical rehearsal questions are:
- does one angle place the subject much closer to the window, lamp, or practical?
- does the brightness shift make the sequence harder to match?
- will a backup angle need its own exposure note?
You do not need to calculate anything. You do need to notice when one camera position changes the light geometry enough to create an edit problem later.
Overhead support and real rig limits
This is the technical area many creators under-check.
Do not rely on a general feeling that your tripod “probably works.” Verify what your actual support is designed to do.
For example, the Manfrotto 055 aluminum tripod product page specifically describes a 90° center column mechanism that allows vertical or horizontal column use. Likewise, the Manfrotto 190X aluminum tripod page describes a horizontal center column feature intended for low-angle and overhead-style positioning. By contrast, a standard tripod or light stand page that does not mention offset or horizontal use should not be treated as proof that it can safely do the same thing.
That is where techvis thinking helps, even at a tiny scale. Storyflow’s guide separates general previs from techvis, the layer where real-world specs and buildability matter (Storyflow, “What Is Previsualization?”). For a solo creator, your stand-in shoot is the moment to do the lightweight version of that: match the planned shot to the actual support configuration the gear documentation allows.
During your rehearsal, verify:
- maximum usable height with the camera mounted
- whether the support documentation actually mentions horizontal or offset use, if that is your plan
- whether the head, plate, and locks hold the camera at the intended downward angle
- whether leg spread blocks your stance or the table placement
- whether touching the work surface causes enough vibration to matter
Keep the conclusion modest. You are not doing engineering analysis. You are confirming whether your planned setup is supported by the gear design and workable in practice.
Edit mechanics and continuity protection
This is where the method becomes more than blocking.
A lot of creators plan shots without planning cuts. Then the timeline exposes the real problem: the action exists, but the connection between shots does not.
Typical continuity failures look like this:
- one take starts with the bowl centered, the next starts with it rotated
- the ingredient level changes between setups
- the host looks down in one angle and straight to lens in the next
- the stirring motion exits frame in one direction and resumes from another
A stand-in shoot lets you assign a transition mechanic before the real day:
- cut on action
- line of dialogue carrying across the cut
- whip pan or fast movement bridge
- insert shot hiding a reset
- wider safety angle covering the mismatch
That last one matters most. Every complex sequence should have at least one shot whose job is not style, but rescue.
The lean 6-step stand-in protocol
Treat this as a flexible rehearsal, not a rigid ritual.
1) Build scale-appropriate stand-ins
Use simple objects that roughly match the real subject’s footprint, height, and reflectivity.
Examples:
- cutting board for prep area
- apple, mug, or box for hero object size
- stacked books for appliance or riser height
- tape on the floor for body position
- spoon or marker for hand path
Perfect replicas are not necessary. Believable scale is.
2) Recreate your actual camera positions with real support gear
Mount the phone or camera on the support you really plan to bring.
That means:
- extend the tripod to working height
- test the exact overhead attempt physically
- tilt the head to the real angle
- stand where you would actually stand
- rehearse around the tripod legs and table edges
No imaginary overheads. If the position only works in your head, it does not work yet.
3) Record rough passes of the real action
Capture short clips and perform the gesture: reach, pour, stir, present, point, or speak.
Check only what matters:
- can the viewer read the action?
- is glare visible?
- does your body cast a shadow?
- do support limits show up immediately?
- do props enter and leave frame cleanly?
4) Time the setup changes
Shoots often fail in the resets between angles, not in the angles themselves.
Time things like:
- moving from overhead to 45°
- rotating the table or workstation
- stepping from demo position into host address position
- resetting the prop state after each take
5) Assign transitions and one safety angle
For every important cut, decide how the cut works.
Examples:
- hand movement bridges the cut
- host line starts before the angle changes
- whip pan motivates the transition
- insert covers the continuity break
Then choose one safety angle. Good defaults:
- wide master if geography matters most
- hands-only insert if prop continuity is risky
- medium-wide host-plus-workstation if explanation may need to rescue the sequence
6) Revise the plan immediately
The output is not the rehearsal footage. The output is the updated shoot plan:
- revised shot order
- revised gear list
- transition notes
- backup orientation or backup location
- explicit “must get” safety coverage
If you want a clean place to turn rehearsal notes into a usable plan, a shot list tool is optional here, not the main event. VideoCue’s Shot List Planner is useful for logging angles, lens notes, and location notes after the rehearsal is done.
Worked example: Priya’s fictional stand-in shoot
Priya is filming a fictional 90-second cooking demo in a professional kitchen with one hour of access. Her paper plan has three camera positions:
- overhead ingredient prep
- 45° angle on technique
- frontal host address
At home, she stages a stand-in shoot using a cutting board, an apple, stacked books, and her phone on the real support she plans to bring.
What she discovers:
- the overhead shot needs more height than her planned support gives in the intended setup
- the 45° angle catches a reflection from the window side she hoped to use as key
- the transition from technique to host address feels abrupt without a movement bridge
- she needs one extra safety angle to protect the edit
REHEARSAL LOG: PRIYA - SETUP 2 (45° TECHNIQUE ANGLE)

Setup name:
45° technique angle

Goal:
Capture stirring and sauce texture, then transition into host takeaway.

Failure found:
- Glossy counter reflects window highlight into lens from the planned camera side.
- Stirring exits frame too quickly for a clean straight cut to host.

Fix:
- Shift camera left and plan a backup station orientation at the real kitchen.
- Add a whip pan following the pan handle movement.

Transition mechanic:
Whip pan into frontal host while dialogue carries across:
"When it turns glossy..."

Added minutes:
+2 minutes to rotate station
+1 minute to rehearse handoff

Safety shot:
Medium-wide host plus workstation before breakdown
That log matters because it records six things creators often forget later: the setup name, what failed, what changed, how the transition works, how much time it costs, and what shot protects the edit.
Priya’s before-and-after plan
| Element | Before rehearsal | After rehearsal |
|---|---|---|
| Overhead prep | Assumed tripod could reach | Bring overhead-capable support or revised mounting plan |
| 45° technique | Planned by window side | Keep angle, but rotate station or use backup orientation to reduce reflection |
| Host address | Separate front-facing setup | Tie it to technique with whip pan and carried dialogue |
| Coverage | Only 3 planned angles | Add safety medium-wide covering workstation and upper torso |
| Schedule | Simple three-shot list | Reordered to minimize resets and protect edit |
Sample script and shot flow after rehearsal
BEFORE
1. Overhead prep: chop shallot, show herbs
2. 45° technique: stir pan sauce
3. Frontal host: "That's it. Serve immediately."

PROBLEM
- No clean visual bridge from active stirring to calm host address
- No protection if bowl, spoon, or hand position changes between takes

AFTER
1. Frontal host intro:
   "Today we're making a quick pan sauce."
2. 45° technique:
   Stir, tilt pan, bring handle toward frame edge
3. Whip-pan handoff to host:
   "When it turns glossy..."
4. Frontal host finish:
   "...you're ready to serve."
5. Overhead inserts:
   herbs, butter, final spoon shot
6. Safety medium-wide:
   captured before breakdown to patch continuity if needed
In this fictional scenario, those rehearsal changes are what connect the outcome: the gear issue gets solved before arrival, the reflection risk gets flagged for fast confirmation, the host transition is motivated in advance, and the safety angle protects continuity. That is how the kitchen shoot can plausibly finish in 50 minutes instead of using the full hour, while also avoiding the coverage gap and reshoot problem built into the original plan.
Copyable rehearsal log template
Use this as a blank block for your own stand-in shoot.
REHEARSAL LOG TEMPLATE

Setup name:

Goal of shot:

Failure found:

Fix:

Transition mechanic:

Added minutes:

Safety shot:
Pitfalls, tradeoffs, and one case where the method is not enough
The stand-in shoot is strong because it is cheap and revealing. But it can also give false confidence if you treat home rehearsal as a perfect simulation.
Strong counterexample: lens choice and location dimensions change the result
Imagine you rehearse a talking-plus-demo scene at home on a phone’s wide lens in a narrow kitchen. Then, on location, you switch to a longer focal length for a cleaner background and discover the room is shallower than expected.
Now the entire plan shifts:
- the longer lens compresses the background differently
- the host-to-counter distance no longer feels the same
- the overhead and 45° positions crowd each other
- your safety medium-wide may not actually be wide enough in the real room
In that case, stand-ins still help with action flow and transitions, but they are not enough on their own. You also need extra verification:
- confirm real room dimensions during the scout
- note likely camera-to-subject distances
- test the actual focal lengths you intend to use
- if possible, grab a quick phone frame from the real location before shoot day
This is the solo-creator version of techvis: not elaborate, just enough real-world confirmation to keep lens and space assumptions from breaking the plan.
Other common pitfalls
- using stand-ins that are much smaller or less reflective than the real objects
- skipping body movement and only testing static frames
- trusting an overhead setup that only works at the extreme edge of your support range
- planning shots but not transitions
- forgetting to capture the safety angle before the set is broken down
Short checklist before the real shoot
Use this after rehearsal and before you pack gear:
- Have I tested every planned angle with my actual support gear?
- Have I checked for reflections, shadows, and obvious brightness shifts between setups?
- Have I confirmed whether my support documentation actually covers the intended overhead or horizontal use?
- Have I timed the biggest setup changes?
- Does each major cut have a transition mechanic?
- Do I have one designated safety angle for continuity rescue?
- Have I updated the shot order and gear list?
- Have I marked unresolved items as location-only unknowns?
- Have I verified lens choice and likely camera distance if the location size may differ?
Next steps: make the stand-in shoot part of your normal prep
What makes this method different from ordinary blocking or storyboarding is the triad at its core: physical blocking, gear verification, and contingency coverage planning.
That is why it works so well for solo creators. It does not just help you imagine the scene. It helps you prove whether you can shoot it, move through it, and still cut it together if one part goes wrong.
For your next complex scene, try this:
- choose one sequence with at least three setups
- stage it at home with rough stand-ins
- use the actual support gear you plan to bring
- record short rehearsal clips
- log one failure, one fix, and one transition per setup
- add one explicit safety angle
- mark anything the real location alone can confirm
- revise the shot order immediately
Related tools, if you want them after the rehearsal is finished: VideoCue’s Shot List Planner is good for turning the revised plan into a printable sheet, and the Storyboard Builder helps if the new transition changes the sequence order.
That is the real value of a stand-in shoot: not prettier planning, but a more reliable shoot.