The Eyeline Mismatch: Fixing When Your Subject Looks Out of Frame
If two interview or dialogue angles make your subjects seem to stare past each other, the issue is usually screen geography, not timing. Here’s how to diagnose eyeline mismatch, tell a true line crossing from a milder off-axis problem, repair it in post, and prevent it on your next shoot.
By VideoCue · Created with AI assistance and automated editorial checks.
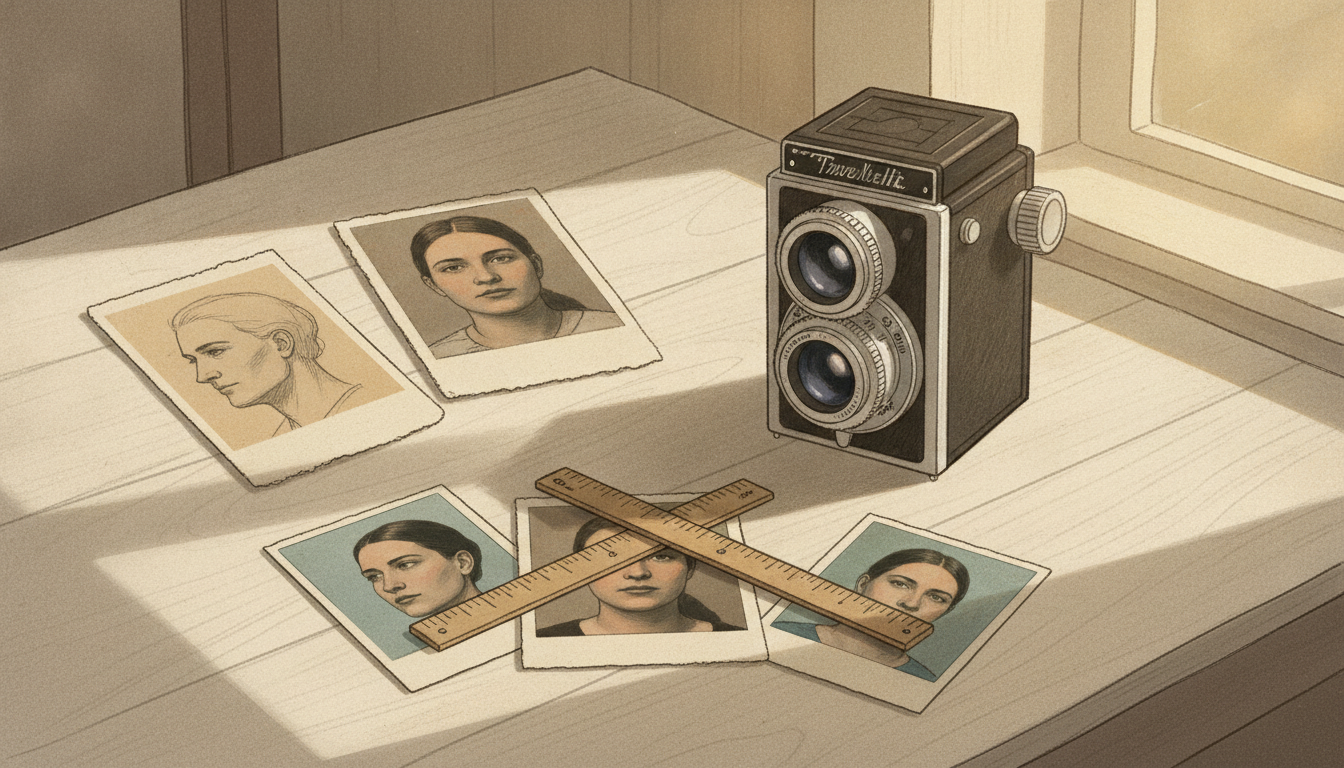
A broken eyeline is one of those edit problems that feels obvious and hard to name at the same time. You cut between two people, the audio works, the color is close enough, and each shot looks fine by itself. But together, the exchange feels disconnected. Instead of sharing a space, the speakers seem to look out of frame or past each other into empty air.
That reaction usually comes from continuity, not performance. An eyeline match links a character’s look in one shot to the person or object that look is meant to land on in the next shot. As Filmmakers Academy’s eyeline match glossary explains, it is a core continuity device that preserves spatial logic. The wider framework is the 180-degree rule: when you shoot a scene in separate pieces, keeping cameras on one side of the axis helps the audience understand where everyone is in relation to everyone else. Learn About Film’s guide to the 180-degree rule and eyeline match states this directly and shows what happens when you cross the line.
For creators cutting interviews, podcast clips, two-presenter explainers, or scripted dialogue, the practical problem is simple: if screen direction stops making sense, the audience notices the cut even if they cannot explain why. Sometimes the cause is a true line crossing. Sometimes it is a milder mismatch from camera placement, lens choice, or an imprecise eyeline target. Either way, the fix starts with diagnosing the geometry before you keep trimming the timeline.
If you want to map this before the shoot, a simple card-based plan in the Storyboard Builder or a setup list in the Shot List Planner helps you catch the problem while it is still cheap to fix.
What an eyeline mismatch actually is
An eyeline mismatch happens when adjacent shots suggest incompatible directions of attention. In a basic two-person exchange, one subject will usually need to appear to look toward one side of frame while the other appears to look toward the opposite side, so the cut implies they are engaging each other. That shot/reverse-shot relationship is part of standard continuity practice. Learn About Film’s explanation of shot reverse shot and the axis of action is especially clear here: if you keep the camera on the same side of the line, the edited shots read as the characters looking at each other; if you cross it, they can appear to face the same direction.
That is the safest way to state the left-right continuity point. Filmmakers Academy’s glossary also connects eyeline match to the 180-degree rule and describes how staying on one side preserves consistent screen direction in dialogue scenes.
But not every bad-looking cut is a full line crossing. Shot design also matters. StudioBinder’s eyeline match overview recommends matching shot size, distance from subject, focal length, horizon, and depth of field when you want the best chance of a clean match. That does not mean every mismatch comes from lenses alone, only that uneven shot specs can make a reverse pair feel less natural even when you technically stayed on the correct side.
Here’s the useful distinction:
| Problem | Typical symptom | Likely cause | How it appears on screen | Safest fix |
|---|---|---|---|---|
| True line crossing | Both people seem to look the same direction instead of at each other | One camera moved to the opposite side of the axis | Conversation feels spatially broken and hard to believe | Use wide shots, cutaways, or a mirror flip only if the frame allows it |
| Mild off-axis mismatch | One angle feels a little too far left, right, up, or down | Cameras stayed on the same side, but framing, height, lens, or target mark differ | The scene feels slightly “off” rather than fully broken | Reframe, cut less often, use wider anchors, and tighten future camera matching |
That difference matters because the fix changes with the diagnosis. A crossed line often needs a structural workaround. A mild mismatch may only need a crop, a better cut point, or more reliance on a wide shot.
Diagnose the problem before you touch the edit
The fastest way to debug this is to stop cutting for a minute and inspect the frame as geometry.
Start by freezing one representative frame from each shot. Pick a moment where each person is clearly listening or addressing the other. Then trace an imaginary line from each pupil through the bridge of the nose toward the nearest frame edge. You are not trying to create a scientific diagram. You are trying to answer one practical question: where does this person seem to be looking on screen?
In a standard face-to-face exchange, if Subject A appears to look screen right, Subject B will usually need to appear to look screen left for the pair to feel connected. That screen-direction consistency is exactly why staying on one side of the axis matters, as both Filmmakers Academy and Learn About Film explain.
Next, sketch the scene from above. Put one mark for each speaker and draw a line between them. That is your axis. Then mark the rough position of each camera. If one camera is on the opposite side of that line, you crossed it.
A second check: look for vertical mismatch too. Learn About Film’s eyeline section notes that if one character is higher than another, the taller character should appear to look down and the smaller character should appear to look up. So you can obey left-right continuity and still have a cut feel wrong because the up-down relationship changed.
One more warning before you “fix” anything: in direct-address content and multicam interviews, talent may alternate between looking into lens and looking off-camera at an interviewer or co-host. That can be intentional mode-switching, not a continuity error. Diagnose target changes first. If the subject is switching between audience address and conversational address, the mismatch may be the point.
Worked example: Jules traces the eyeline instead of guessing
Here’s a fictional example.
Jules is editing a two-person interview for her channel. She has a host single from Camera A, a guest single from Camera B, and a wider safety shot. On paper, it should cut cleanly. But once she starts alternating the singles, the conversation stops feeling like a conversation. Each person appears to speak toward somewhere beyond the other person.
Her first instinct is timing. She trims earlier into the guest’s answer. She holds a beat longer on the host listening. She swaps reaction moments. None of that fixes the uneasy feeling because the issue is not rhythm.
So Jules freezes one frame from each single and does a simple overlay test.
Jules’s compact overlay method
- Export or pause on one clear frame from Camera A and one from Camera B.
- On each frame, place a dot on the visible pupil closest to camera.
- Draw a short line through the bridge-of-nose direction to the frame edge.
- Ignore whether the actor is turned dramatically; just ask which edge that line heads toward.
- Label each frame: lands left or lands right.
- Compare the pair.
- If one lands left and the other lands right, they are on opposite screen sides, which is usually correct for a face-to-face exchange.
- If both land left or both land right, suspect a line crossing or a major setup mismatch.
In Jules’s case:
- Camera A: host’s gaze line lands toward the right edge.
- Camera B: guest’s gaze line also lands toward the right edge.
That is the red flag. Both speakers appear to look into the same off-screen space.
Jules then sketches the overhead layout. The host and guest sit opposite each other, creating a clear axis between them. Camera A is on one side of that line. Camera B, once she maps it, is on the opposite side. That means Camera B crossed the line. Learn About Film explicitly describes the result: instead of facing each other, the characters can appear to face the same direction.
Before repair
Frame A (host single): pupils and nose line point to frame right
Frame B (guest single): pupils and nose line point to frame right
Edit result: both seem to address the same off-screen area

After emergency repair
Frame A (host single): gaze still points to frame right
Frame B (guest single, mirrored): gaze now points to frame left
Edit result: the pair reads much more like mutual attention
That diagnosis changes Jules’s process immediately. She is no longer trying random trims. She has a repair plan:
- Confirm whether the wide shot establishes the intended geography.
- Check whether Camera B can be mirrored without obvious giveaways.
- Find cutaways that reduce direct A/B comparison.
- Note the setup mistake for the next shoot.
The point of the example is not “always flip the shot.” It is that tracing the eyeline gives you a repeatable method instead of a vague feeling.
The practical fix order in post
Not every eyeline issue can be made perfect in the timeline, but many can be made much less distracting. The safest approach is to move from least invasive to most artificial.
1. Re-establish geography with a wide shot
A wide or two-shot can reset the viewer’s mental map. Learn About Film lists a long shot or wide shot as one way to help an audience follow a changed line. In practice, this means using the wide as an anchor whenever the singles become questionable.
For Jules, opening a section on the wide and then cutting selectively into singles makes the mismatch less aggressive. It does not truly repair a crossed axis, but it reduces how often the audience compares two incompatible close-ups back to back.
2. Use cutaways and inserts
Cutaways are often the cleanest rescue because they let the dialogue continue without forcing the audience to stare at broken shot/reverse-shot logic. Learn About Film specifically mentions cutaways, B-roll, and detail inserts as ways to manage a line change.
In creator work, this might be product shots, screen recordings, notes, slides, or environment details. Often this is not just camouflage. It is a better visual choice anyway.
3. Reframe if the issue is mild
If the mismatch is off-axis rather than fully reversed, a subtle crop can reduce how extreme the gaze feels. This helps when one subject is looking too far toward the frame edge but still in the correct general direction.
Tradeoff: you may lose resolution, break matching headroom, or make one angle feel unnaturally tight. Treat this as finesse, not rescue.
4. Try a horizontal flip only as a decision-based last resort
A mirror flip can rescue a crossed eyeline, but it is an emergency move. Use this checklist before you commit.
Try it when:
- the shot clearly crossed the line
- the mirrored direction would restore a believable exchange
- you have no clean reshoot
- the wide shot and cutaways can help support the fix
Inspect first:
- readable text in frame
- logos or branding
- asymmetrical wardrobe details
- hair parting or jewelry
- lav mic placement and cable routing
- background cues like wall art, door handles, monitors, or signage
- handedness in action, such as writing, gesturing, or holding a mug
Reject the flip when:
- reversed text or logos will be obvious
- asymmetrical styling makes the mirror look fake
- handed actions become distracting
- the background has strong directional cues that now look wrong
- the clip intercuts with other angles where the mirrored details will contradict continuity
If you reject it, fall back to:
- the wide shot as your anchor
- cutaways and inserts
- longer holds on the stronger single
- fewer direct reverses between the incompatible shots
For Jules, the flip works only because the guest frame has no visible text, no obvious branding, and no strong asymmetrical background clues.
5. Cut less often
A mismatch gets louder when the viewer is repeatedly asked to compare it. If no fix is fully convincing, hold longer on the stronger angle and let audio bridge across. A calmer hold often feels more intentional than fast alternation.
Prevent it on the next shoot
The best fix is prevention.
Pre-shoot
- Decide the axis before anyone sets the B-cam.
- Plan matching reverse angles on the same side of that line using a diagram or a quick overhead sketch.
- Build a shot list with lens, height, and rough distance notes so your reverse singles are in the same family. The Shot List Planner is useful here because you can log lens and setup notes shot by shot.
- If the scene includes both direct-to-camera and off-camera answers, mark those as separate modes so nobody treats intentional target changes like mistakes.
On-set
- Give each subject a precise eyeline target: near eye, bridge of nose, or a taped mark just off lens.
- Keep matching singles on the same side of the axis. Learn About Film is very clear that this is what protects the screen direction.
- Keep shot specs reasonably close. StudioBinder recommends matching shot size, distance, focal length, horizon, and depth of field when possible.
- Check vertical relationships too: if one person should be looking slightly up or down, make sure both reverses reflect that.
- Capture a wide shot that can re-establish geography later.
- Review a quick A/B/A/B test before you strike the setup.
In-post
- Freeze representative frames and trace the eyeline before making timing changes.
- Decide whether you have a true line crossing or a mild off-axis mismatch.
- Use the least invasive repair first: wide, cutaway, reframe, then mirror flip.
- If the subject alternates between lens and interviewer, confirm that the target change was intentional before “correcting” it.
- Document the issue for the next production so the same setup mistake does not repeat.
If your team tends to wing coverage, it is worth tightening your prep with How to plan a shot list in 20 minutes.
Exceptions that are actually intentional
Good continuity is the default, but not every unusual eyeline is a mistake.
Looking at an object
The rule applies to things as well as people. Learn About Film notes that the same principle works when the subject is looking at an object rather than another character. In creator videos, that might be a laptop, a phone, a product, or a whiteboard.
Direct address
If the speaker turns to lens, the target changes from another person to the audience. That is not a continuity failure. It is a mode change. The main editing job is making that shift feel intentional.
Deliberately awkward eyelines
StudioBinder says awkward eyelines can be used to build suspense or create an odd mood and tone. That supports a narrow claim: unusual eyelines can be expressive. It does not mean every disorienting cut automatically reads as intentional. In most interviews, explainers, and marketing videos, one accidental crossed line still looks like a mistake.
Conclusion: fix the map first
If your subject looks out of frame when you cut between angles, solve the geography before you solve the rhythm. Trace the gaze. Mark the axis. Decide whether the pair implies mutual attention or two separate looks into the same off-screen space.
In Jules’s interview, that process revealed the real problem: Camera B had crossed the line. Her short-term rescue was a careful mirror flip, backed up by wider resets and cutaways. Her long-term fix was simpler: keep future cameras on the same side of the axis, set clearer eyeline targets, and review an alternating cut while still on set.
That is the habit worth keeping. Once you can see the invisible line and where each gaze lands, eyeline match editing stops feeling mysterious. It becomes a practical continuity check you can use on every interview, explainer, and dialogue scene you shoot next.
More from the field
The Voiceover-B-Roll Lag: Syncing Your Narration to What the Eye Sees
If your narration names a part, step, or result before the viewer can actually identify it on screen, your explainer starts fighting itself. This guide shows a practical word-to-frame method for fixing voiceover B-roll sync timing, with a compact timing sheet, a full revision example, pitfalls to avoid, and a repeatable checklist for educational and creator videos.
When your B-roll contradicts your narrator: fixing B-roll continuity editing
Beautiful B-roll can quietly sabotage your voiceover when the image implies the opposite of the line. This practical guide shows how to catch semantic continuity problems early, using research on audio-visual mismatch, a worked Dough & Co example, and an operational if/then decision flow for B-roll continuity editing.